

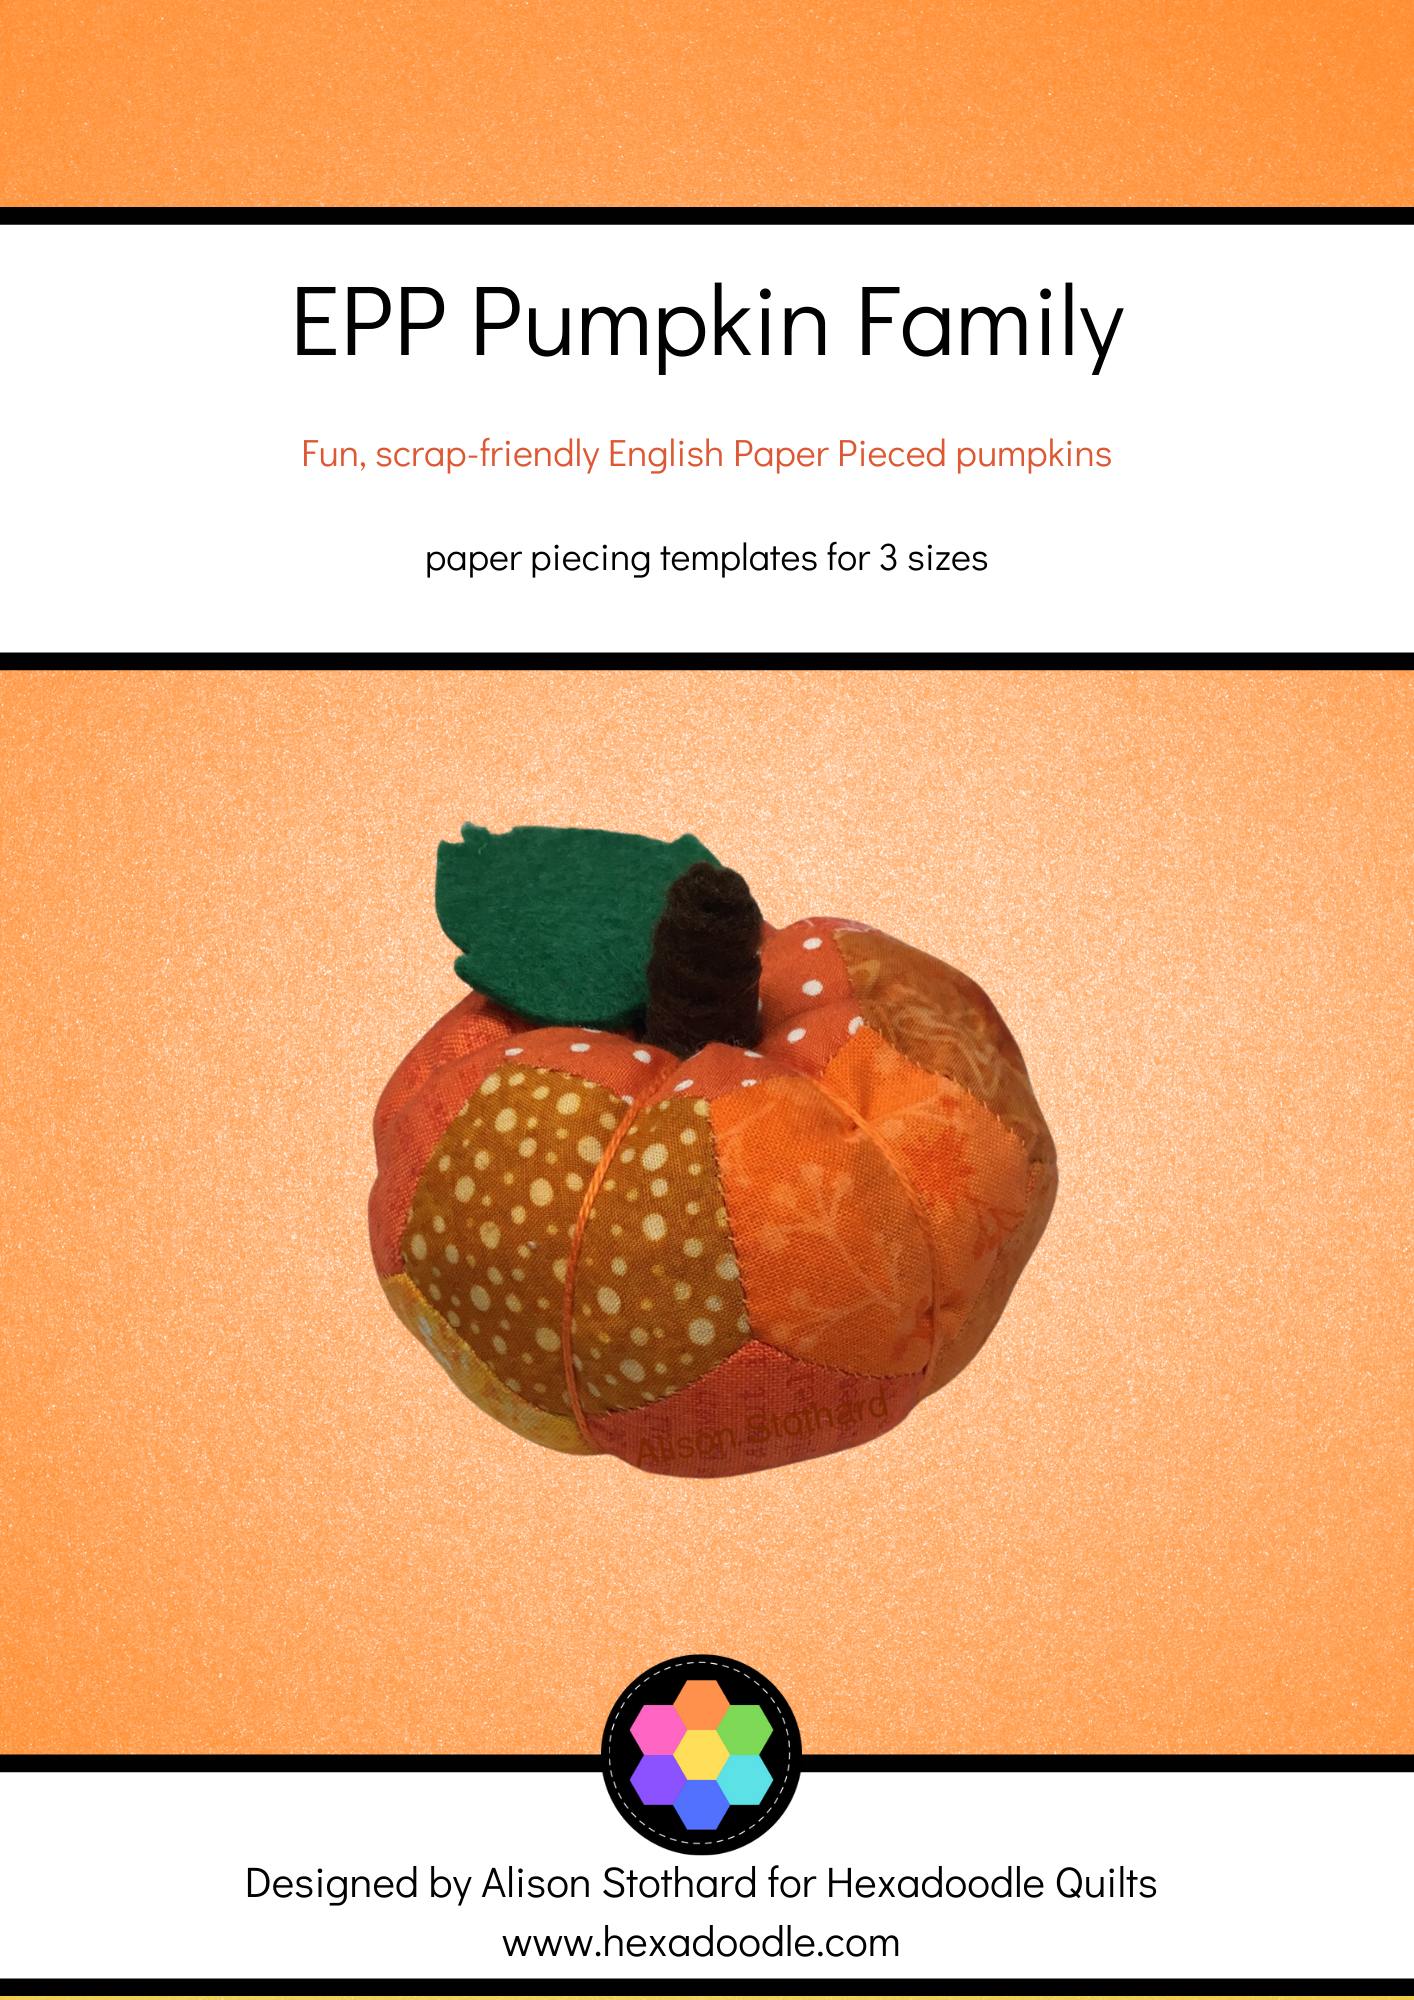
Perfect for using up scraps too small to be used in our quilting projects.
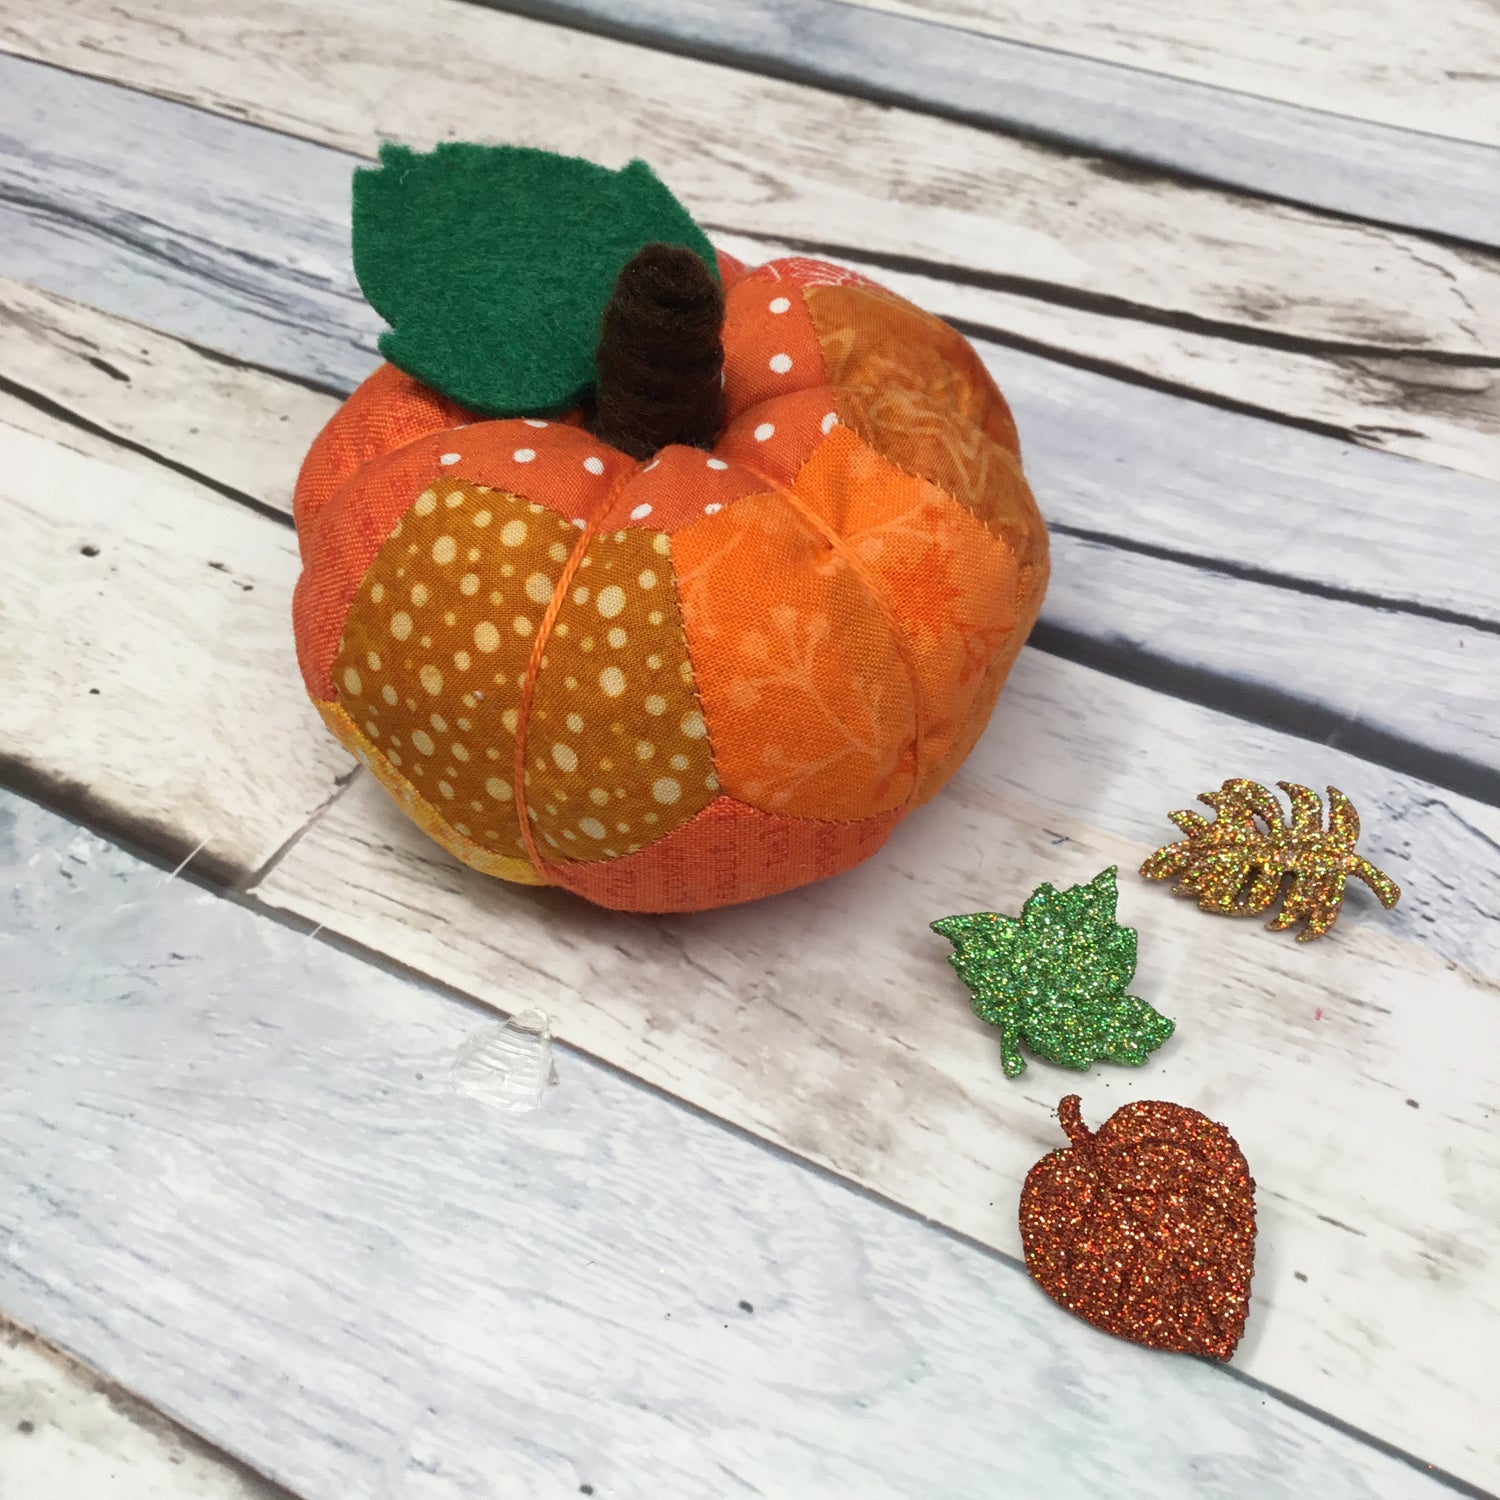
Make these cute pumpkins to use as pincushions for quilty friends or create items for Fall decorating around the home.
Read on to find out how to make your own...
WOW! IT'S OCTOBER ALREADY!!
I was just about to make a start on my Christmas quilting projects when I realised that my desktop scrap bins were overflowing!
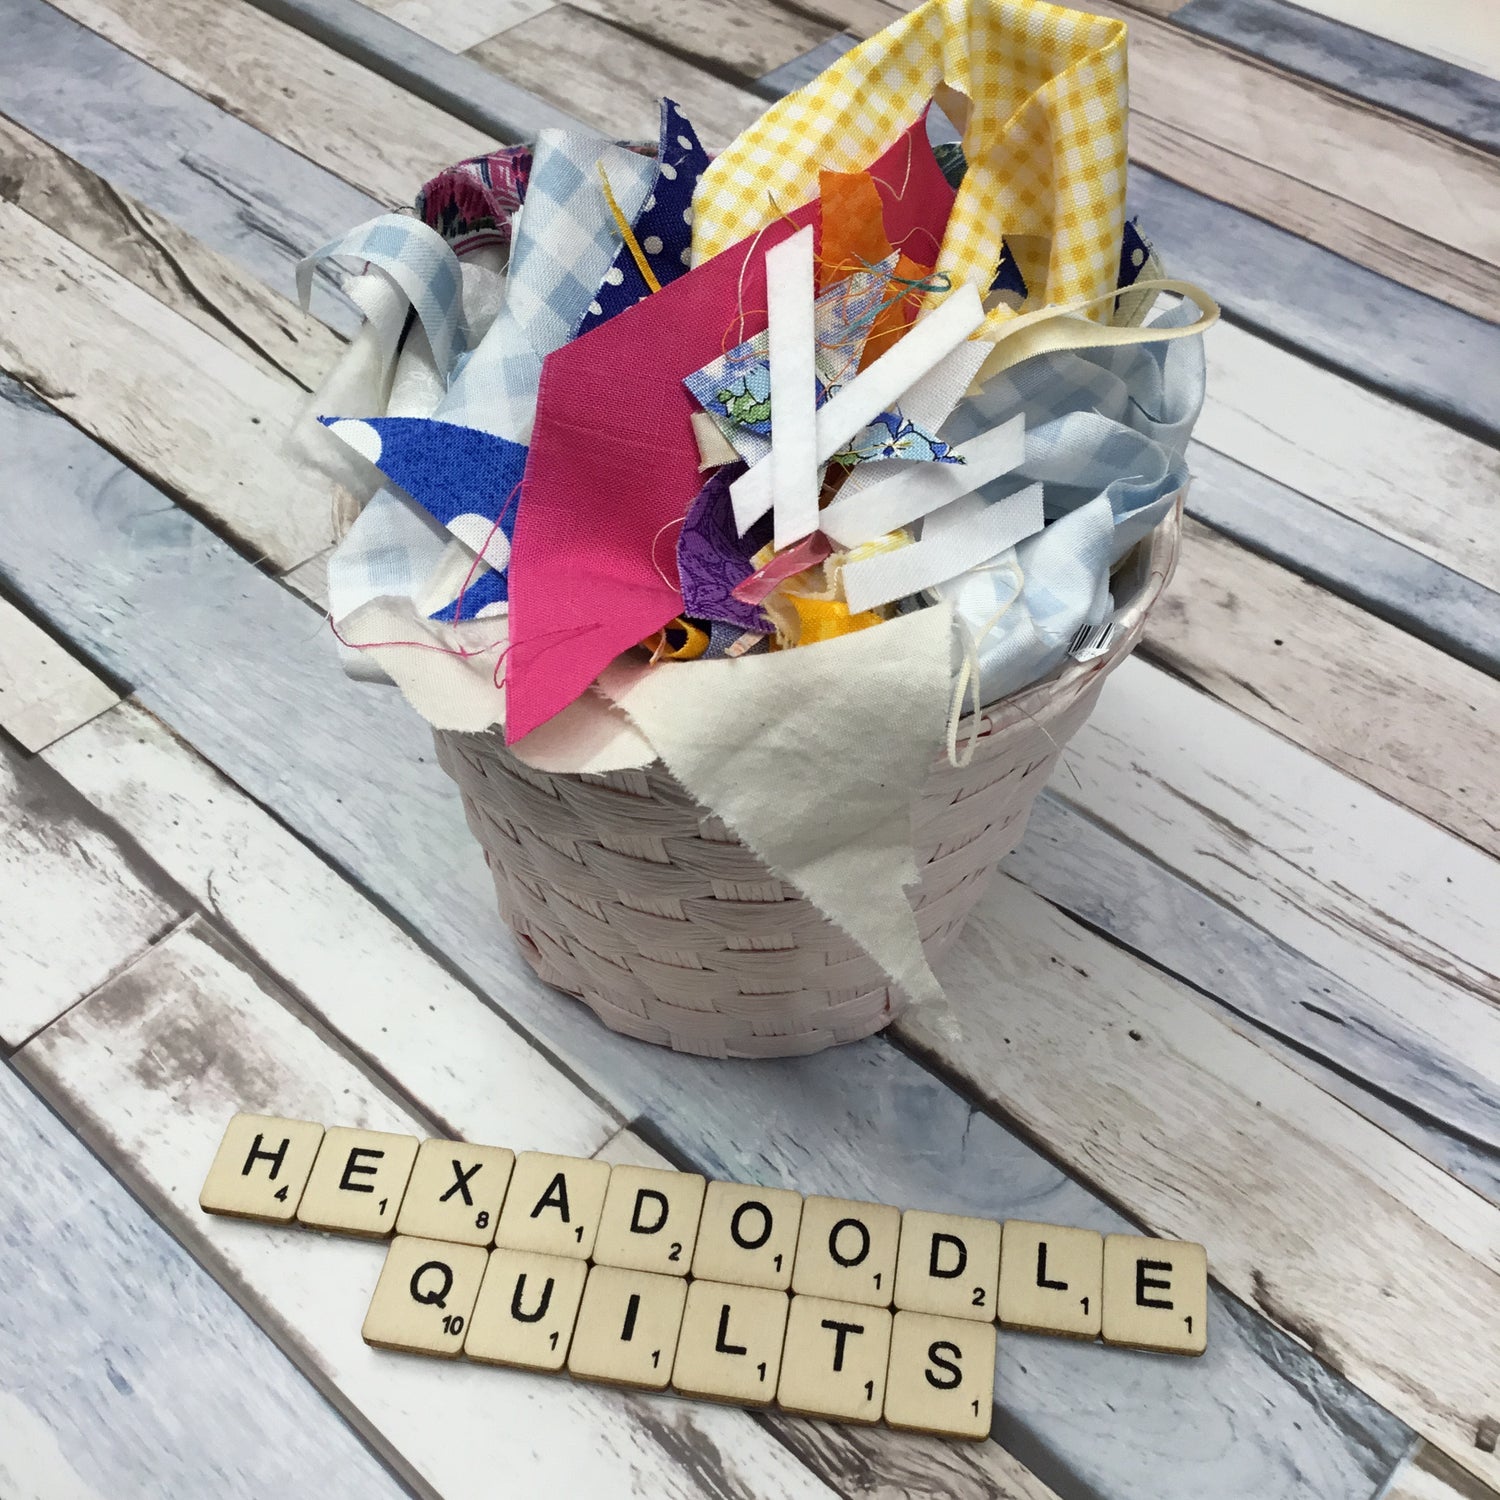
I save every last scrap of fabric - I don't like to waste anything. After all, the fabric costs the same whether it is a yard, fat quarter or tiny snippet left from trimming down fabric squares for hexies...right?
I put all these little trimmings into a small plant pot on my desk and when that pot gets full, I use the contents to make a stuffed pincushion or decorative doo-dad! You can never have too many decorative doo-dads can you?
I've even used them to stuff a patchwork teddy bear!
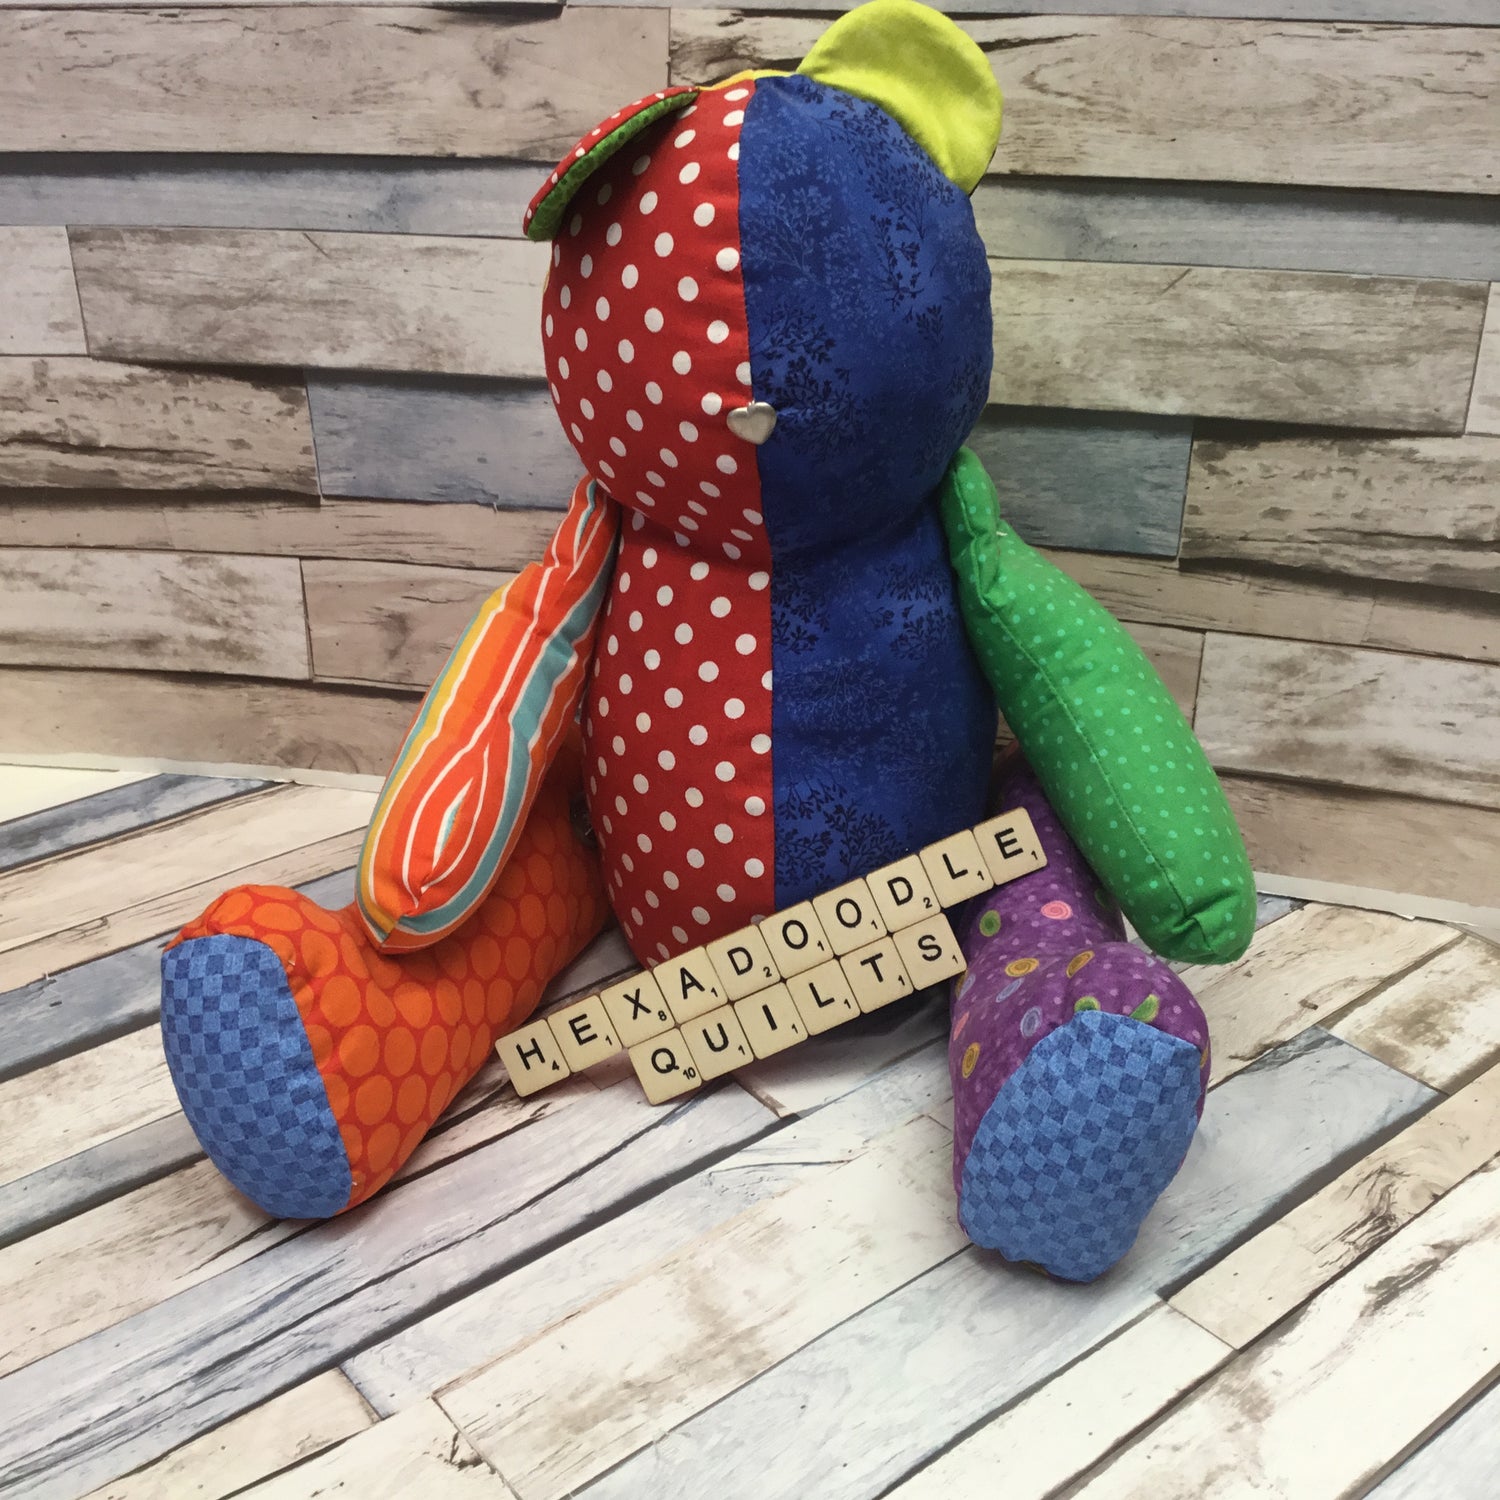
This teddy bear will forever be a UFO as I can't bring myself to stitch his eyes on! Am I the only one who has this problem??
Seeing as the seasons are turning and there has been a very autumnal chill in the air for the past few mornings, I decided that this time, I would make a patchwork pumpkin (or 3) and use the contents of the scrap bins to fill them up.
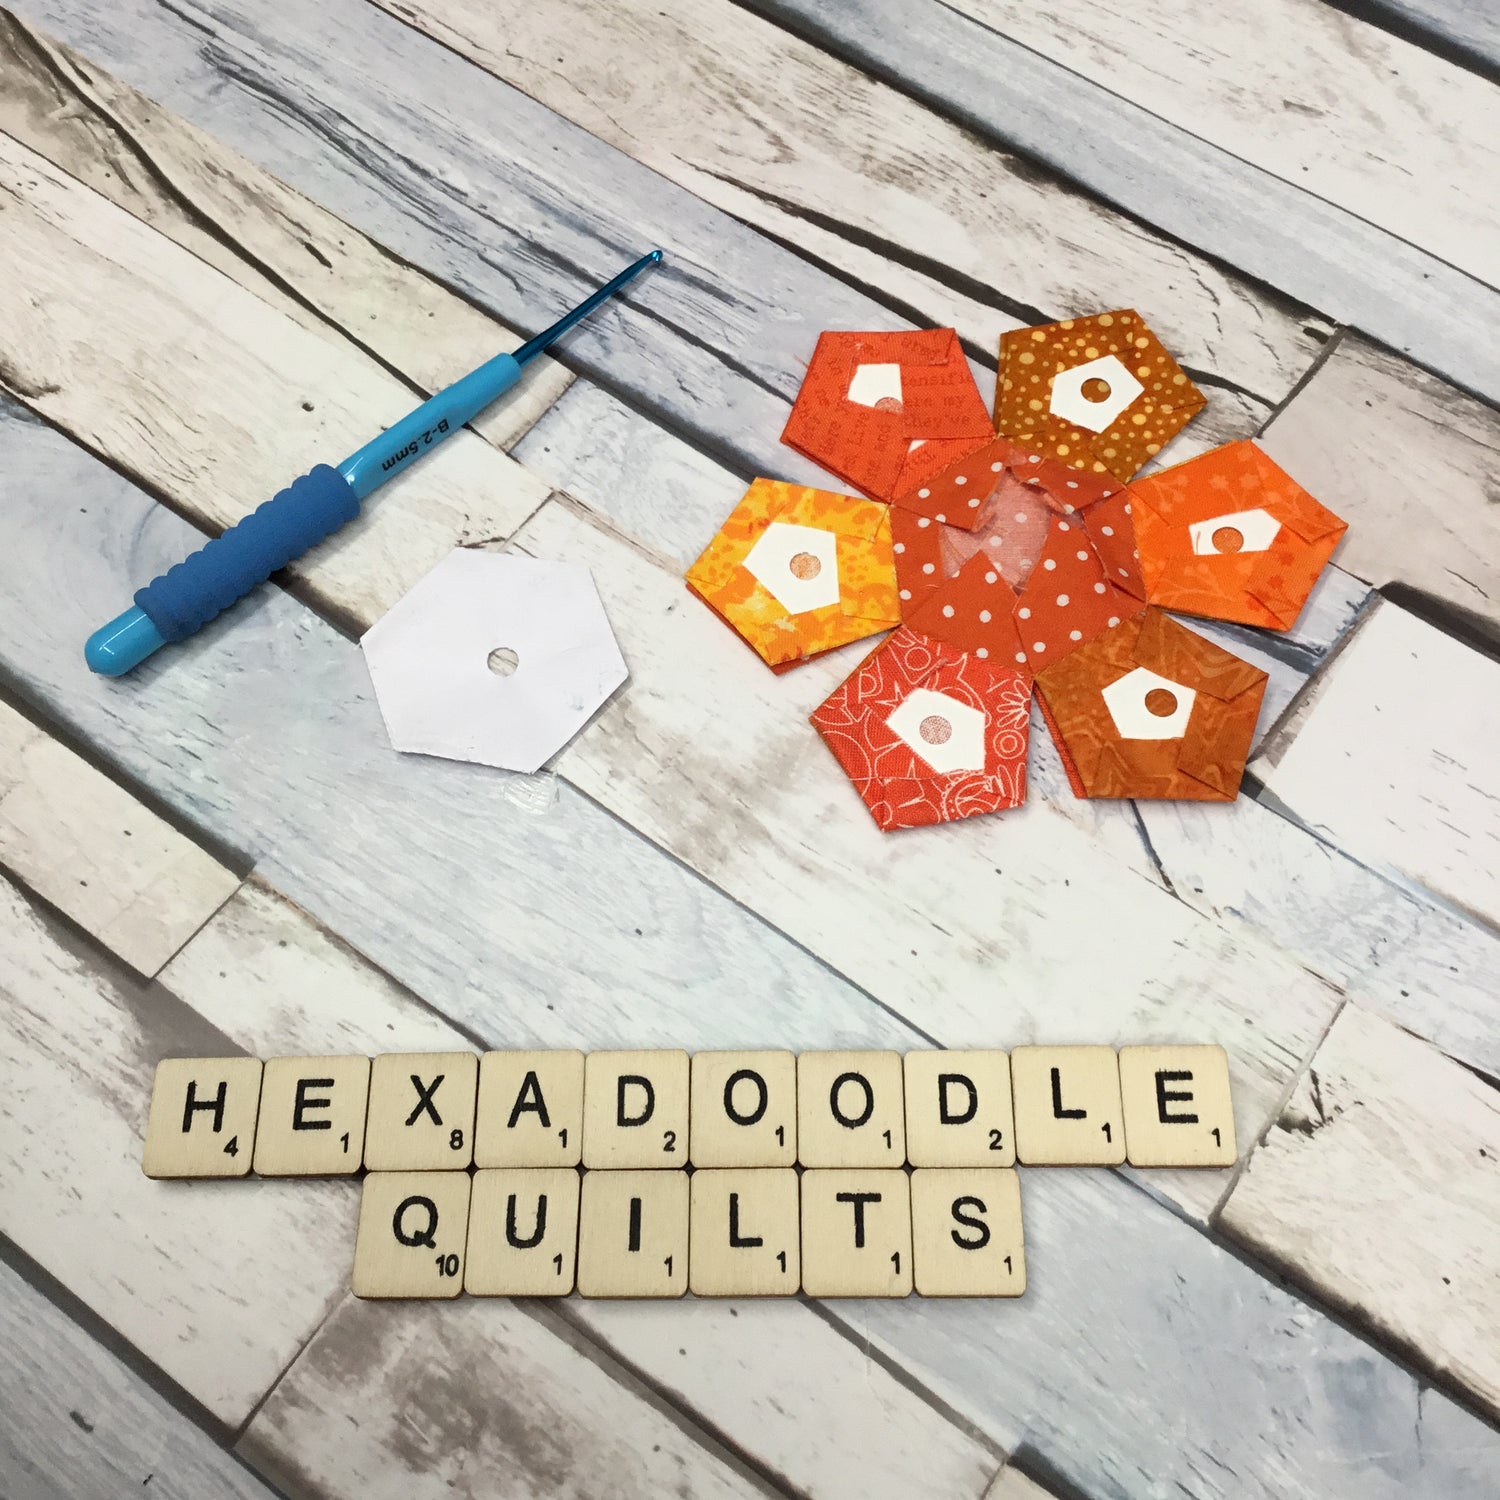
These pumpkins are super simple to make and only use 14 paper pieces so can be whipped up in no time at all. Vary the size of your paper pieces and you can make a collection of super cute pumpkins in a range of sizes - each one totally unique.

You will need:
- 12 Pentagon Paper Templates
- 2 Hexagon Paper Templates
You can get a set of Print at Home templates in 3 sizes here
(The size of template you use is up to you, but make sure that the pentagons and hexagons have a side length that is the same).
- Assorted fabric scraps big enough to baste your papers with
- Fabric and battings scraps and offcuts for stuffing your pumpkin (You could also use toy stuffing)
Optional Supplies
- Scraps of orange, brown and green felt
- Perle Thread (I used Wonderfil Perle Cotton #8 in shade 224)
- Fabric Glue
LET'S GET STARTED!
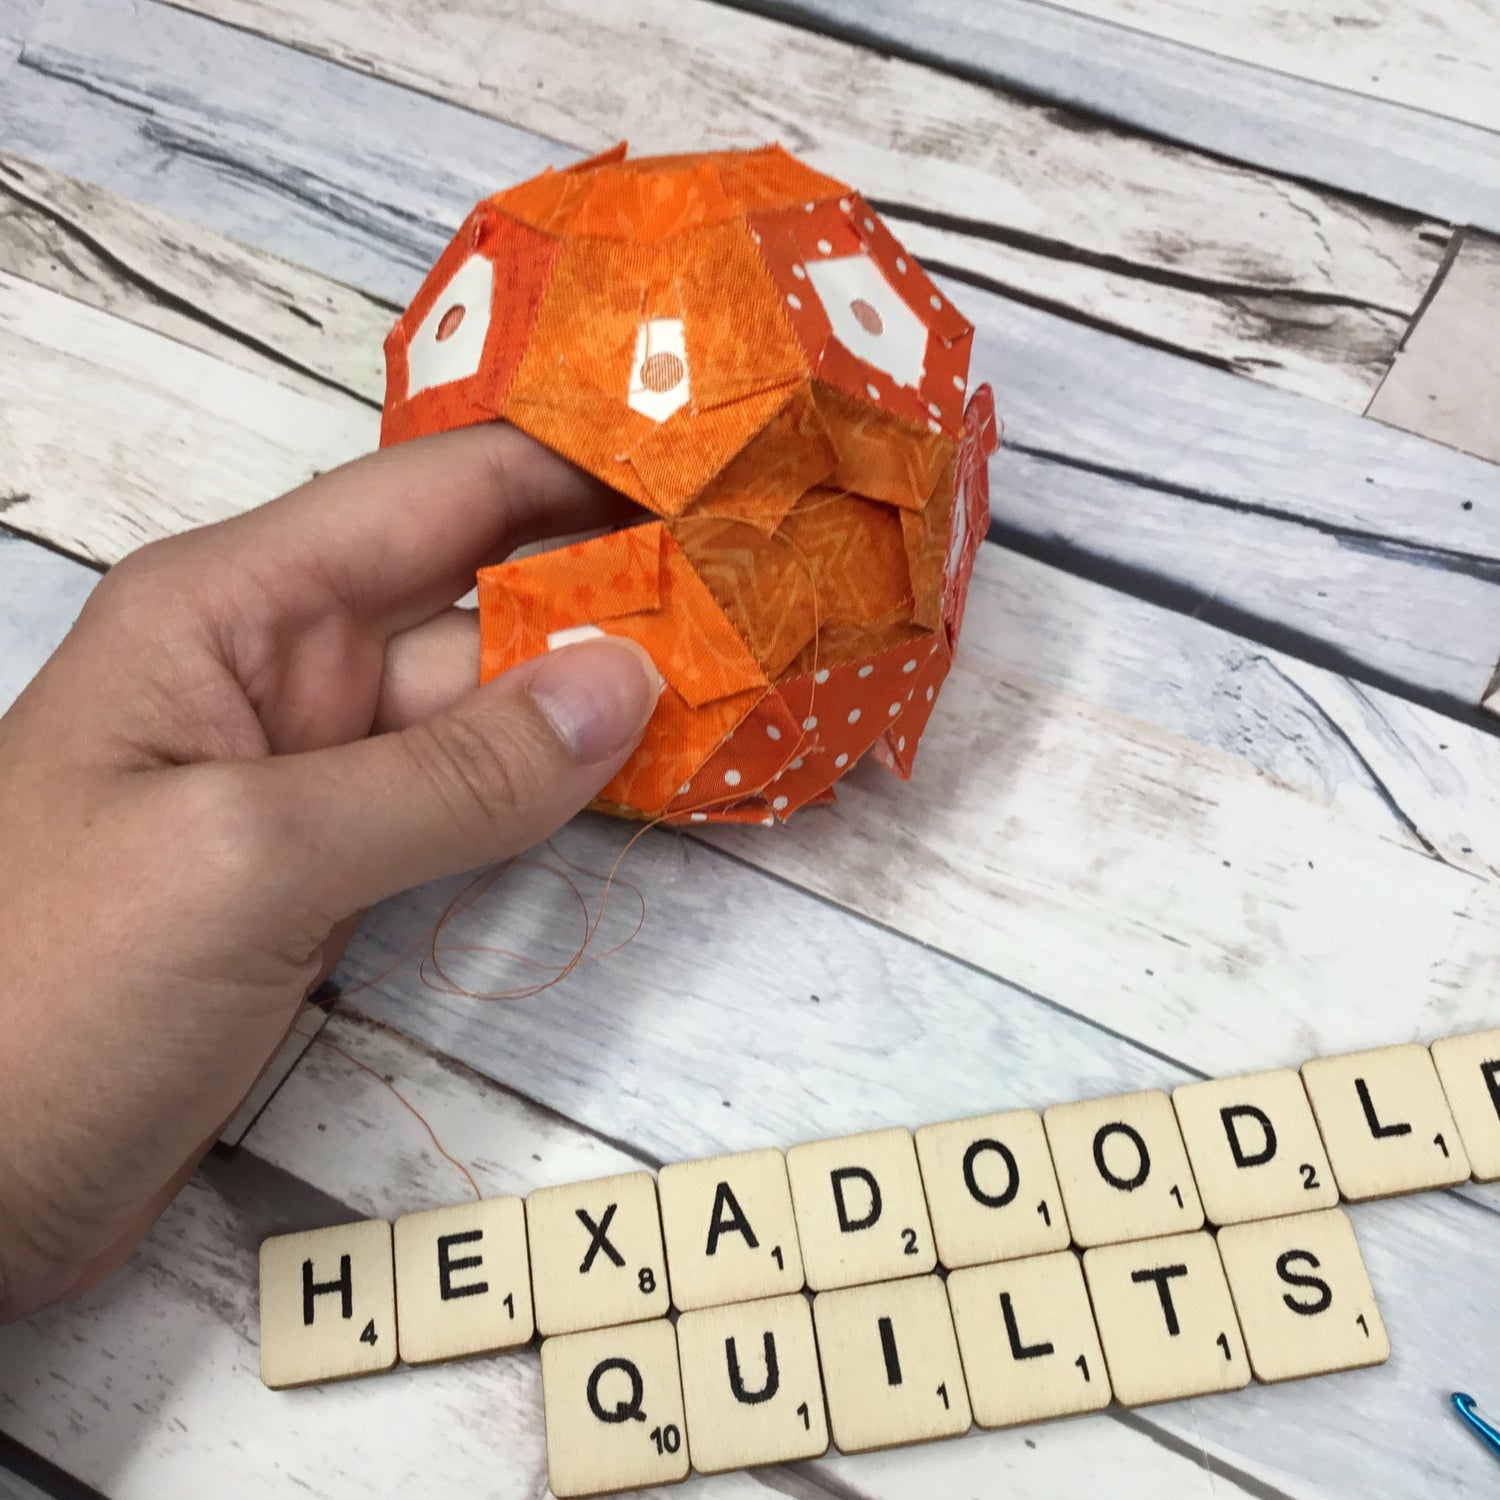
1. Baste your hexagon and pentagon templates using a variety of fabric scraps.

2. Surround each hexagon with six (6) pentagons.

3. Stitch your pentagons to each side of your hexagon shapes.

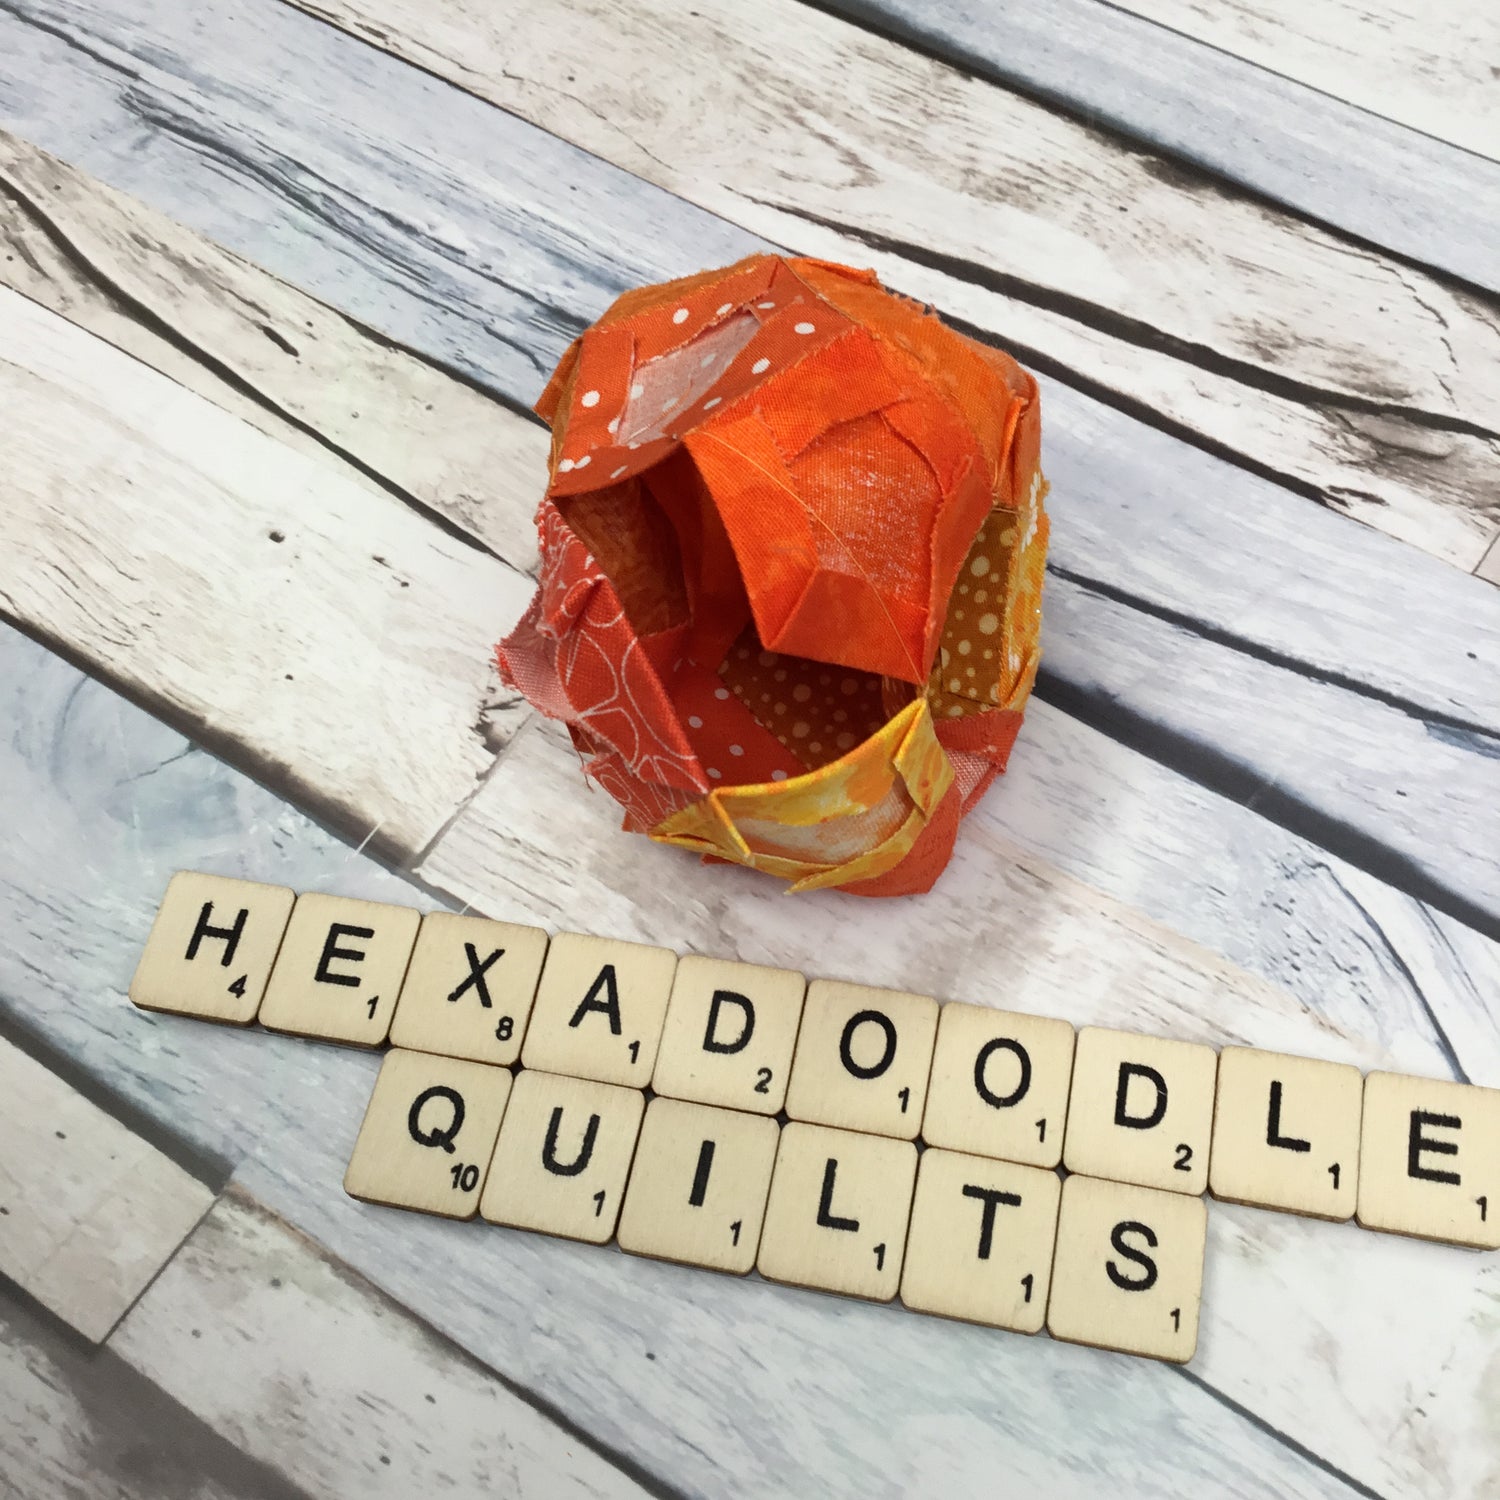
4. Remove the paper from each of the hexagon templates.

I always punch a hole in my paper templates so they are easier to remove later on
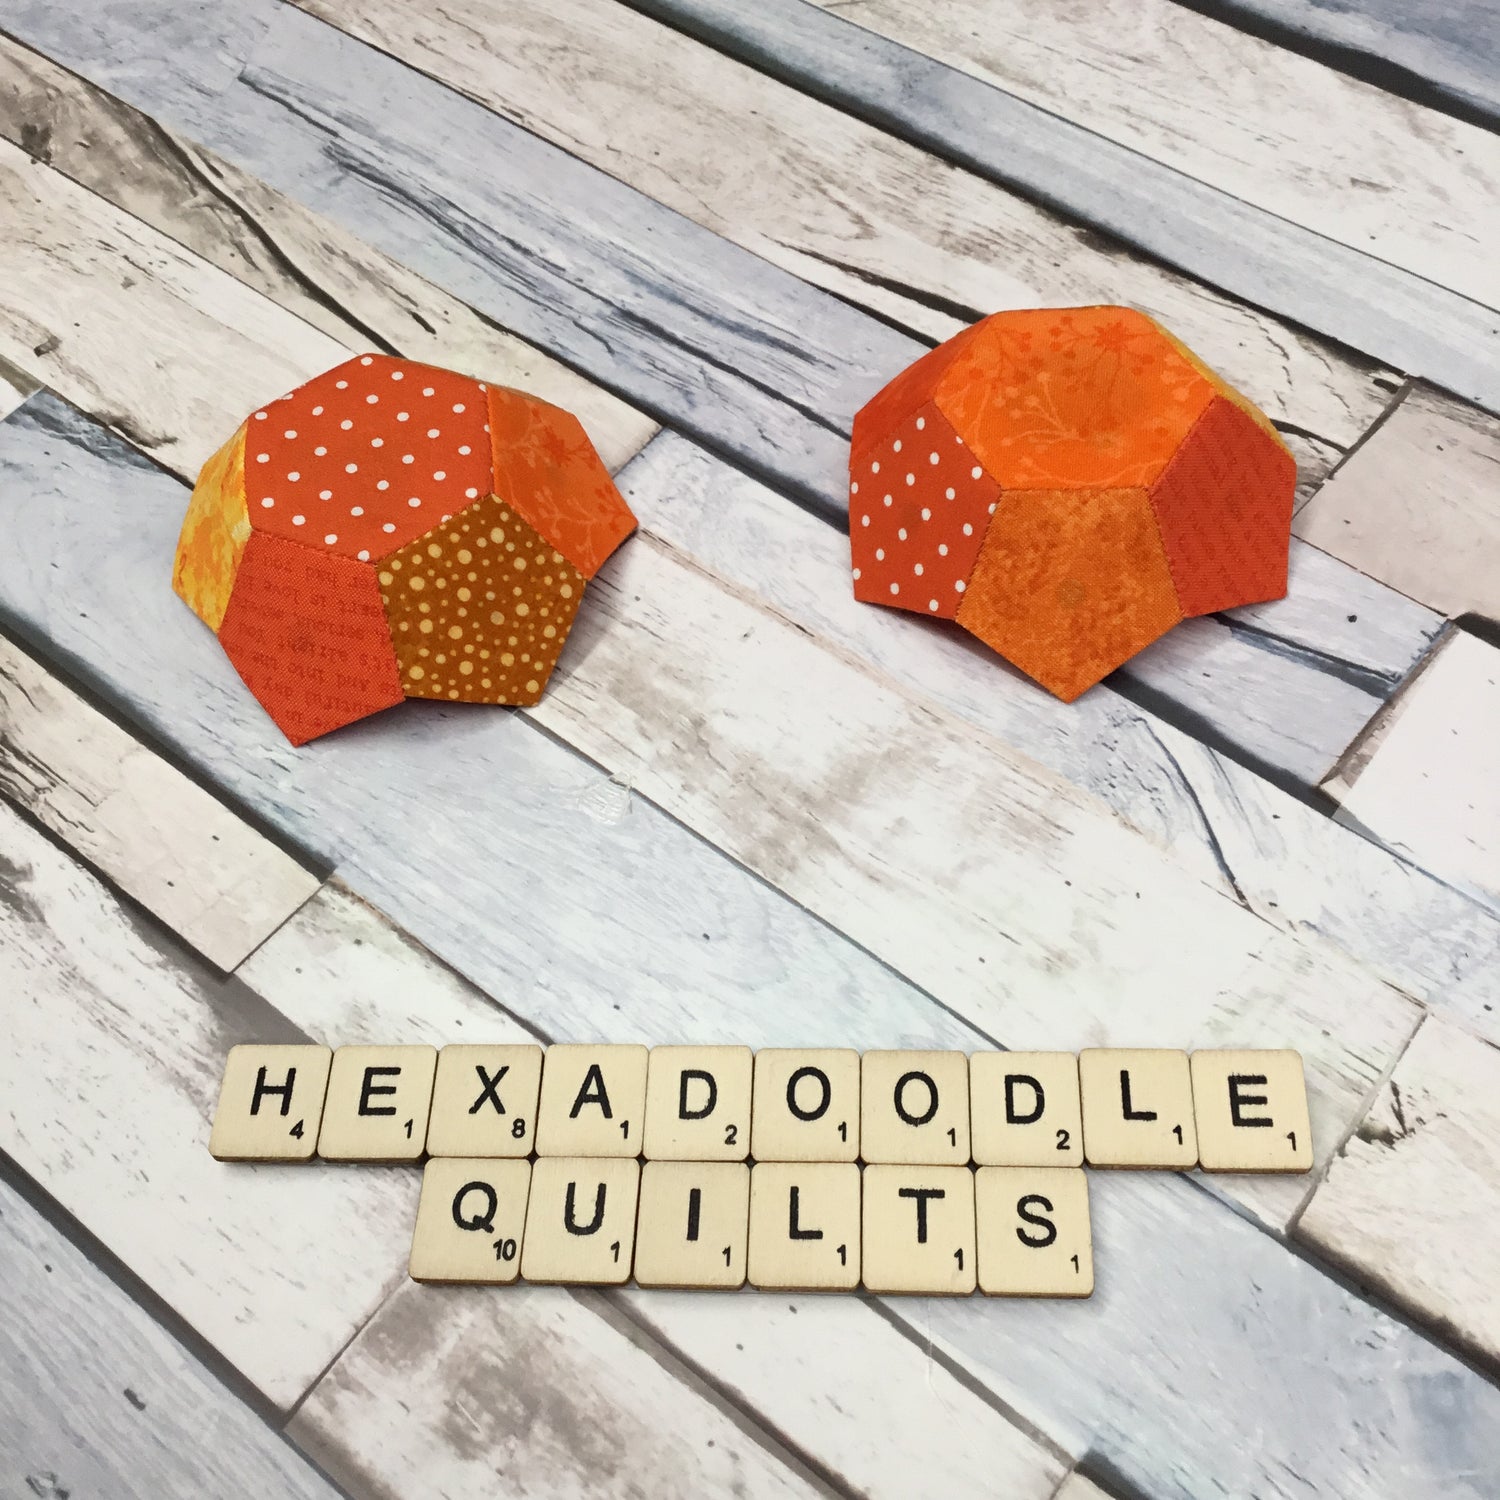
5. Stitch the pentagon sides together to form a bowl shape.
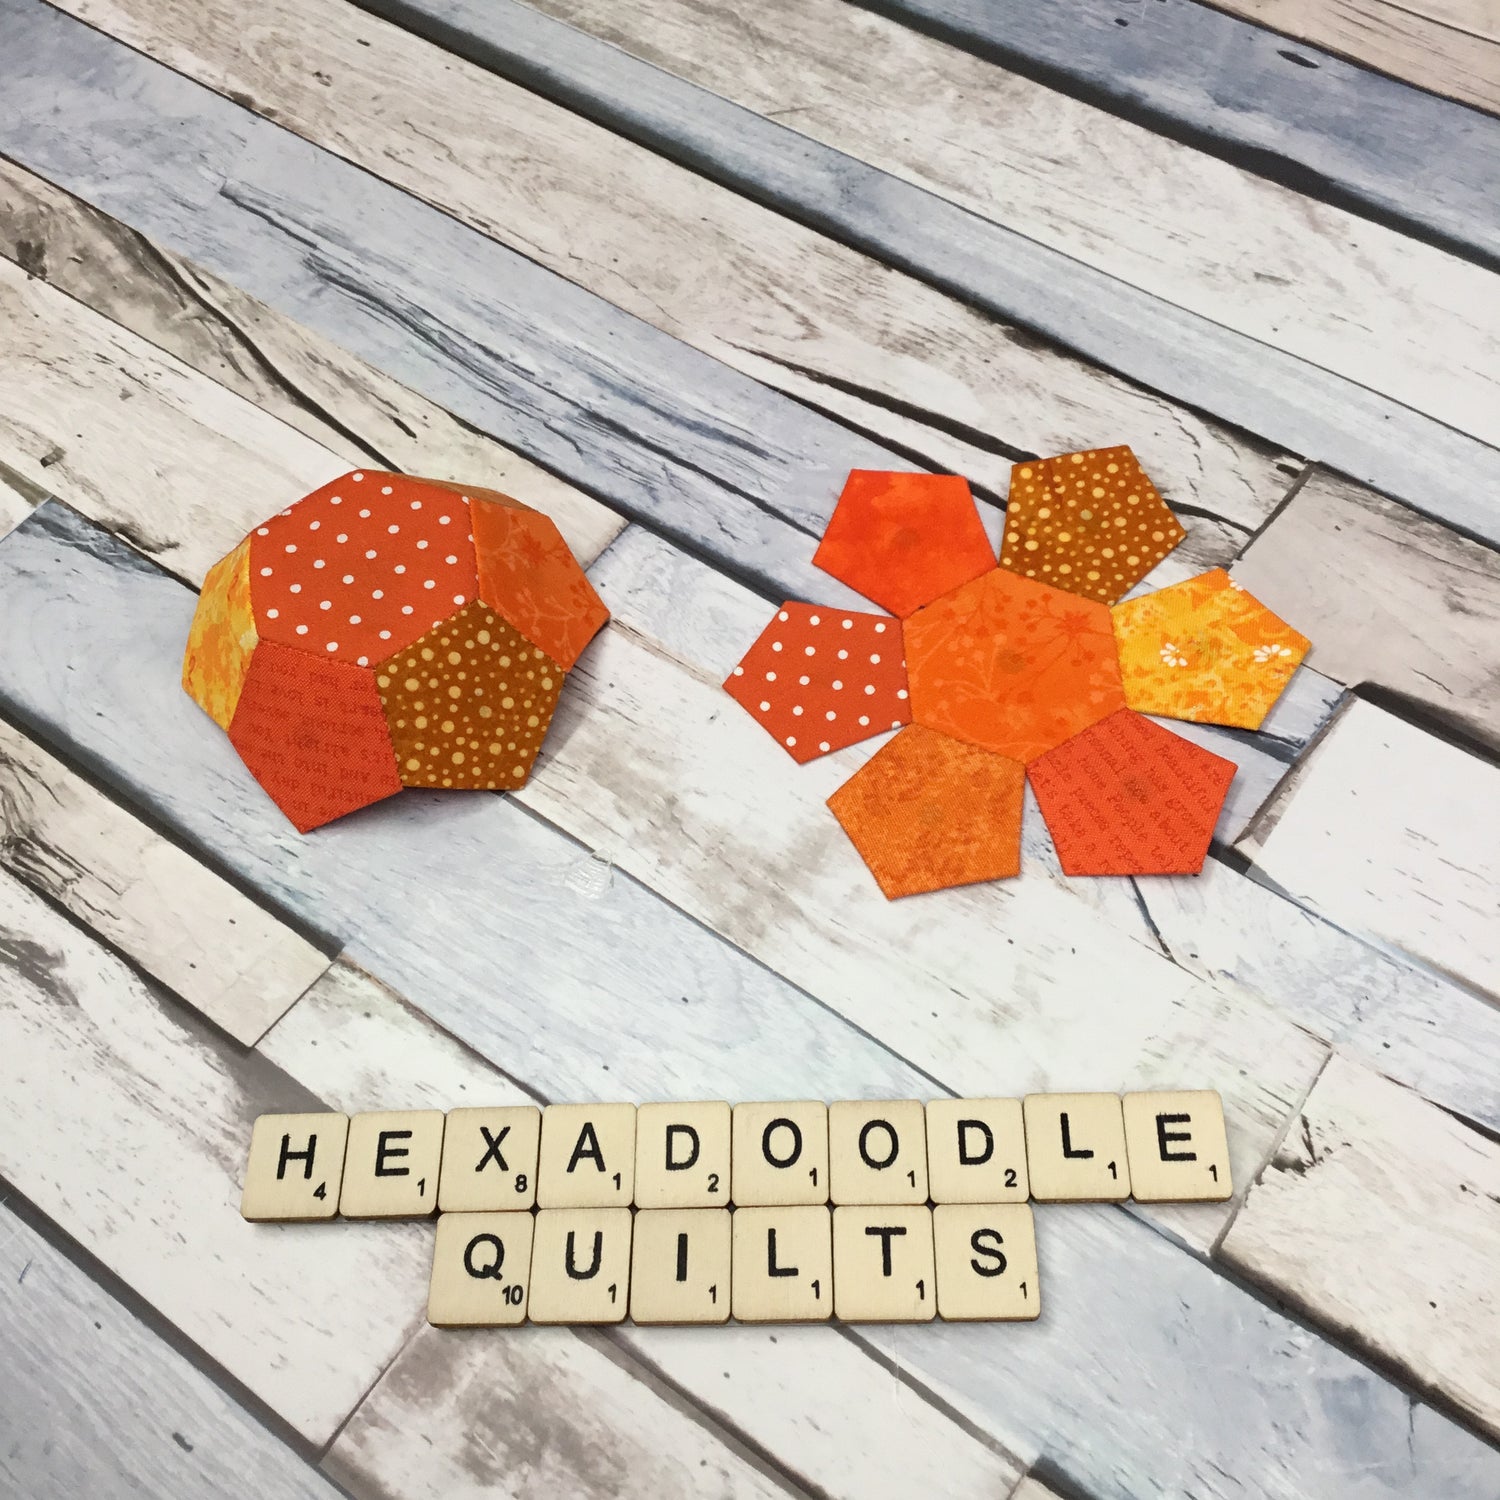
6. Repeat for both pieces/ halves.
7. With right sides together, stitch both halves of your pumpkin together along the top edges of the pentagon shapes.
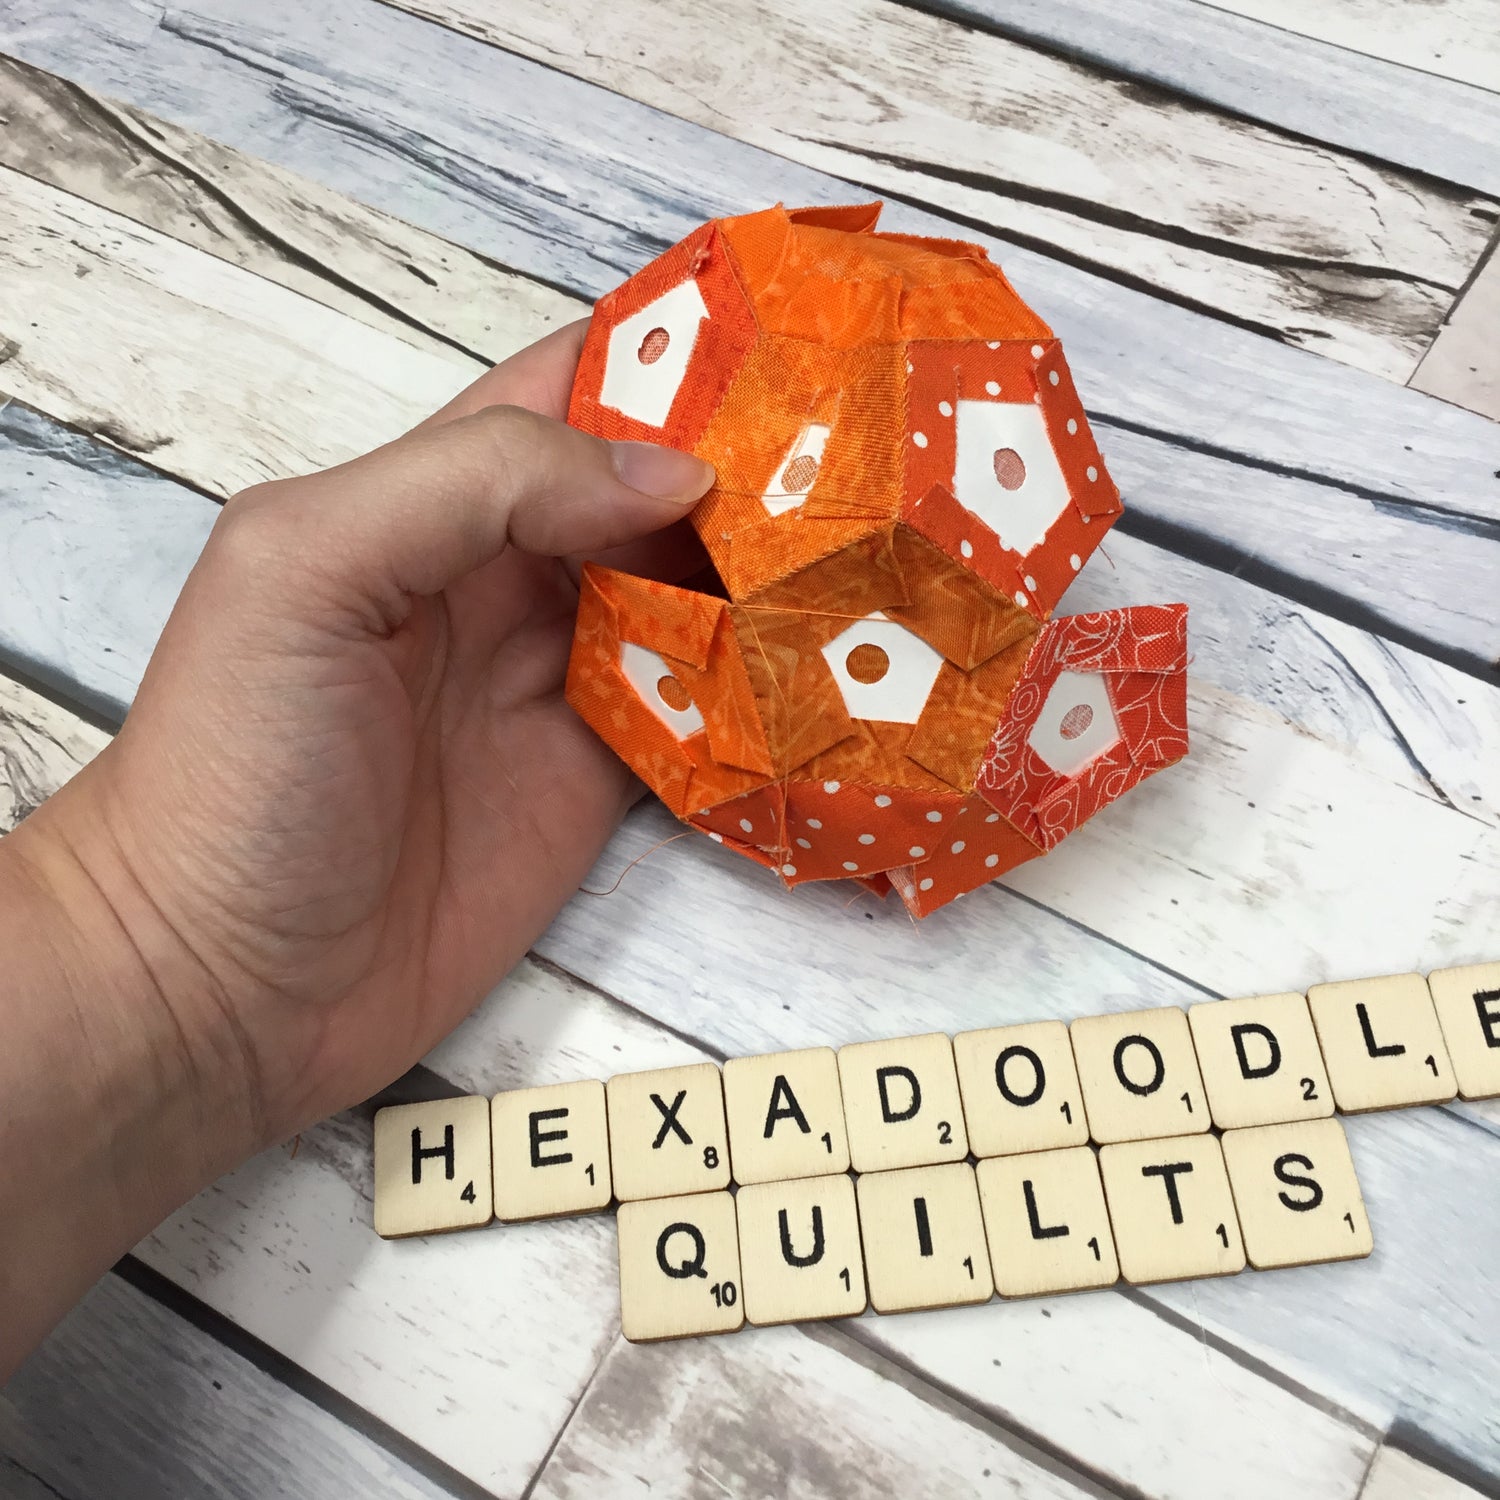
Remove the pentagon papers once you have stitched around all its sides.
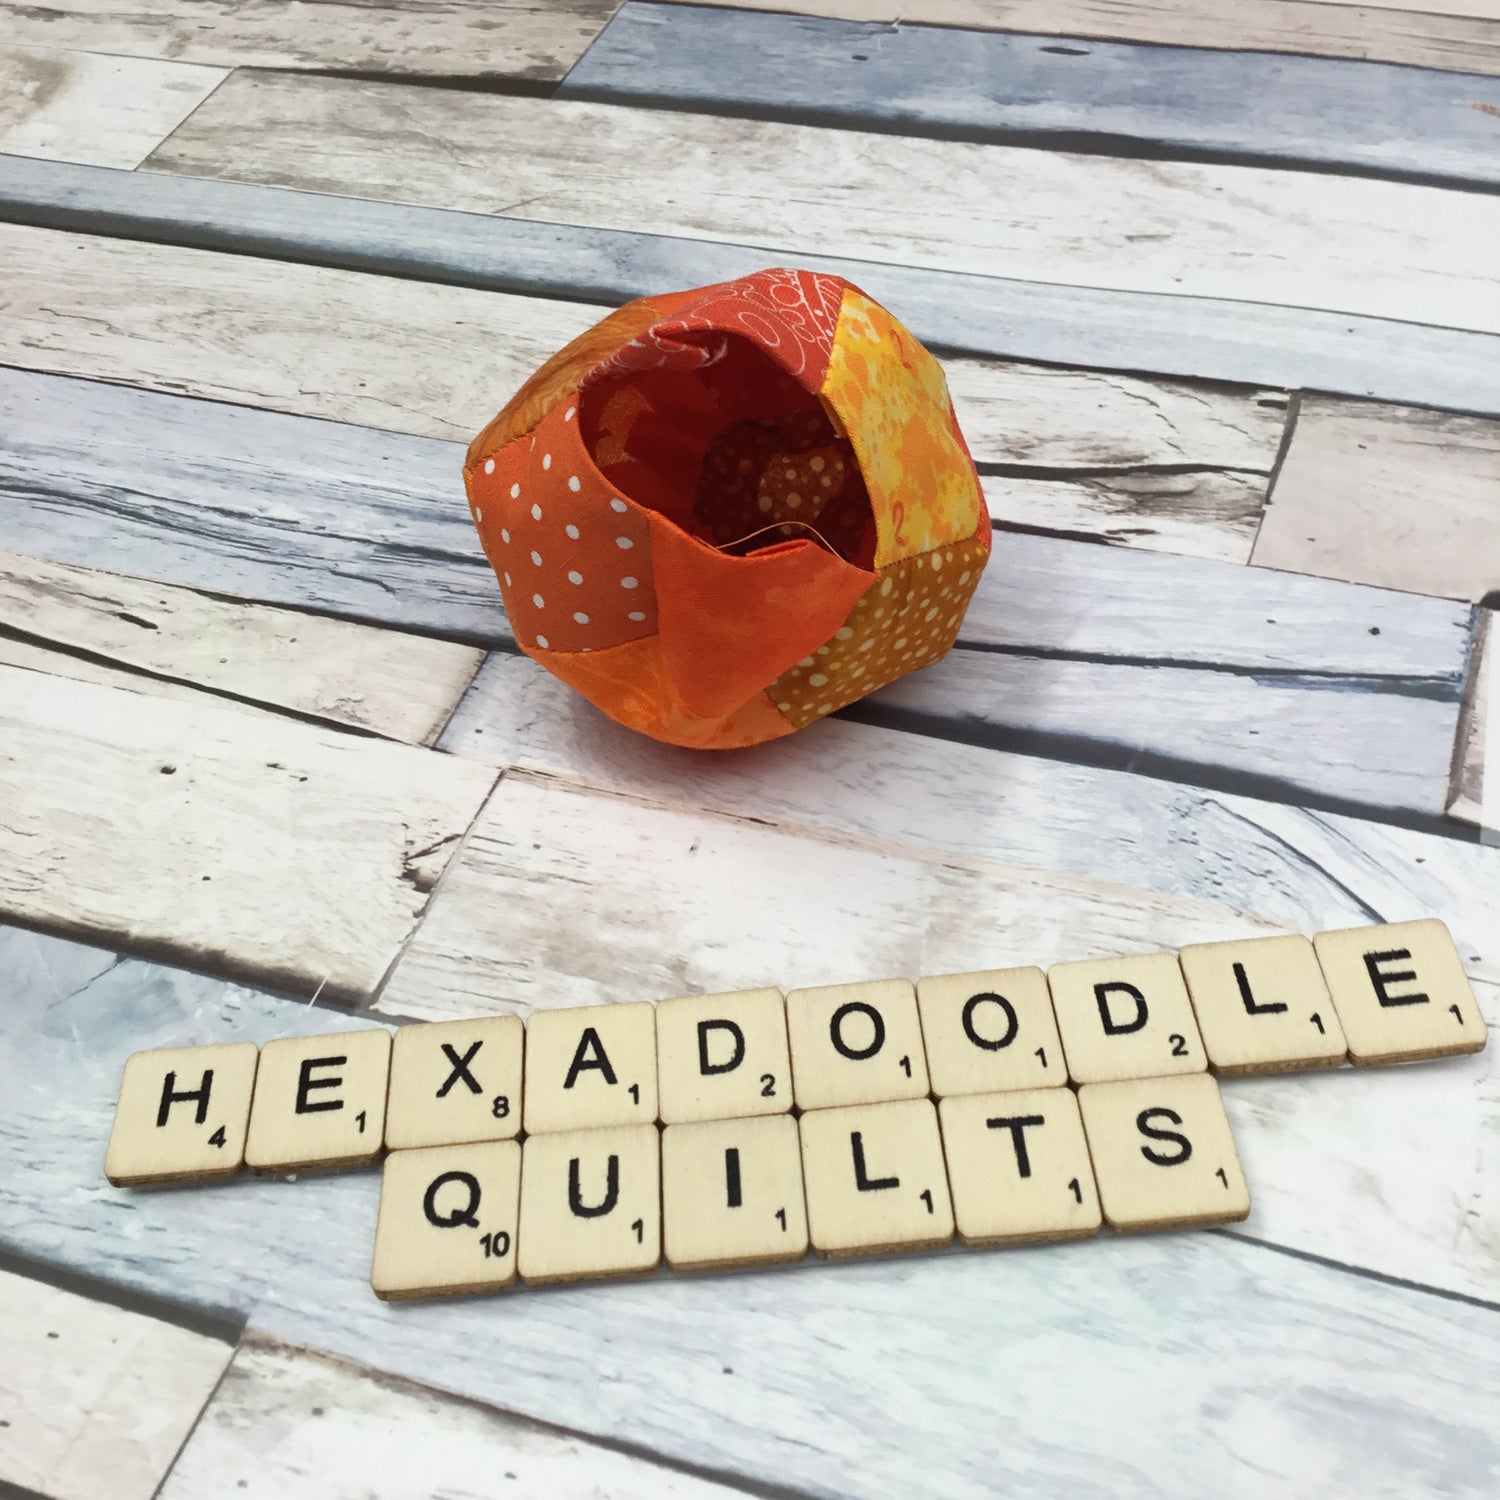
8. Leave 3 sides unsewn to allow for turning and stuffing.

9. Remove all the remaining pentagon papers from the unstitched sides and turn your pumpkin right side out.
In Part 2, I'll show you how to stuff and close your pumpkin using a ladder stitch and add the finishing touches!
Happy Stitching!
Alison xx

Comments ()