


In Part 1 of "How to make an EPP Pumpkin", I took you through the steps required to make the body of the pumpkin.
You can read that post here

Now it's time to stuff our pumpkins full of fabric scraps and batting offcuts and add the final finishing touches!
Stuff your pumpkin with your fabric scraps and batting offcuts. Cut your batting offcuts down to smaller pieces ~ 2" in size to make the stuffing easier and more even.

Keep stuffing the scraps in (it takes a lot of scraps to produce a firm, ripe pumpkin!

Just when you think you've enough scraps in your pumpkin, add another handful!

My pumpkin kind of looks like some strange orange clam now...
Stitch your pumpkin closed using a ladder stitch.

Insert your needle along the folded edge and take a small stitch ~ 1/8" long.

Repeat on the opposite side.

...and again on the first side.

Continue adding small stitches on both sides until you reach the end of the pentagon edge. As the name of the stitch suggests, you create a "ladder" of stitches with the "rungs" bridging the gap between your pieces.

Begin pulling on the end of your thread to draw the stitches tight and pull your two pieces closer together. Be gentle and take your time - you don't want to snap your thread!

Here's one of my open edges completely closed with a ladder stitch. I knot the thread here before starting stitching on the next open side.
By now, you should have a cute little squishy ball of fabric! Isn't it cute?
I thought mine looked a little too much like a satsuma orange though and decided not to stop there...

To add some definition and shape, I used Wonderfil #8 Perle thread to draw in the sides of the pumpkin:
Thread a long darner or doll needle with a double length of thread and knot the ends together.
Cut a small circle of felt (~3/4") from your orange and brown felt scraps

Place a scrap of orange felt in the centre of one of your fabric hexagons. This will be the bottom of your pumpkin. The felt scrap is to prevent damage to your pumpkin and stop your threads pulling through the fabric.

Doh! My orange felt completely blends in to the fabric on camera...
Insert the needle threaded with perle thread through the centre of this felt scrap and push it all the way through the pumpkin. Try to come up in the centre (ish) of the opposing hexagon. (sorry I forgot to photograph this step)
Thread the brown scrap onto the needle and push it down until it rests on top of the fabric hexagon.

Take your needle around the pumpkin and re-insert it in the centre of the BOTTOM hexagon - through the orange felt.
Bring the needle through the pumpkin and out of the TOP of the pumpkin as close to the centre of the brown scrap as you can. Pull the thread tight and the side will draw in.

Keeping the thread pulled tight, repeat until you have created 6 divisions on your pumpkin.

Now, it's time to add the finishing touches!
From your felt scraps, Cut a leaf shape from green felt and a strip of brown felt. Roll the brown felt into a tube and secure it with fabric glue or stitch.

Attach these to the top of the pumpkin with fabric glue. There will be a little "dimple" in the top caused by your stitching and gathering of the perle thread.

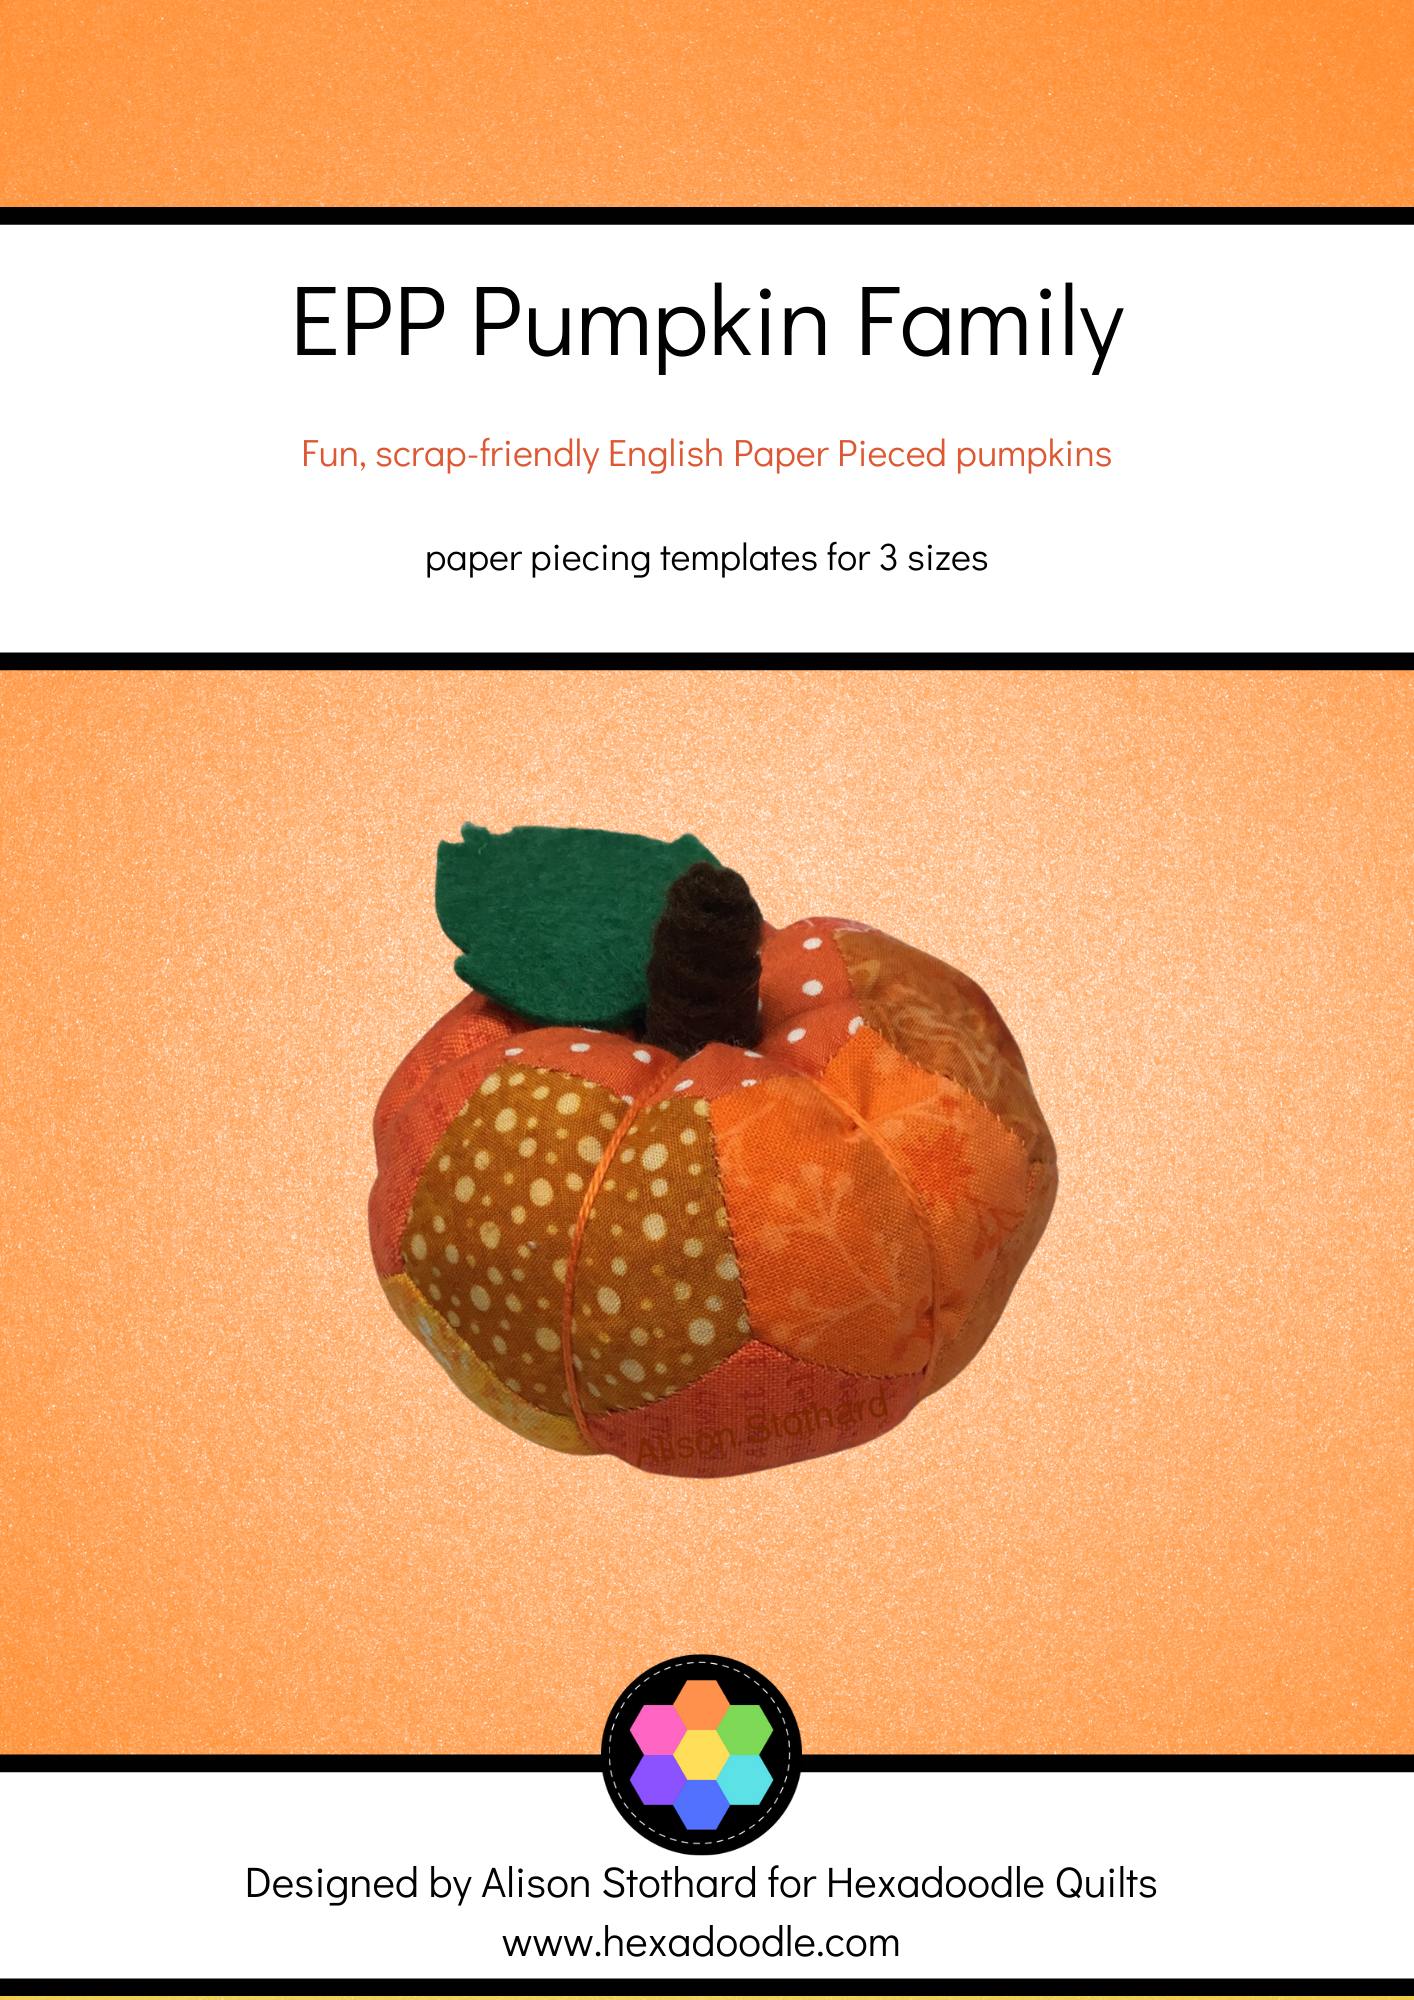
Your finished pumpkin(s) will look something like this...

I do hope you've enjoyed reading this tutorial and are inspired to have a go at making your own EPP Patchwork Pumpkins too!
Please share your finished pumpkins with me and tag me on social media so that I can see them! @hexadoodlequilts
Happy Stitching!
Alison xx

Comments ()